
Executive Summary
- With more of us working from home at the moment, it’s become far more common to ‘Bring Your Own Device’ (BYOD) – like using your personal laptop for work.
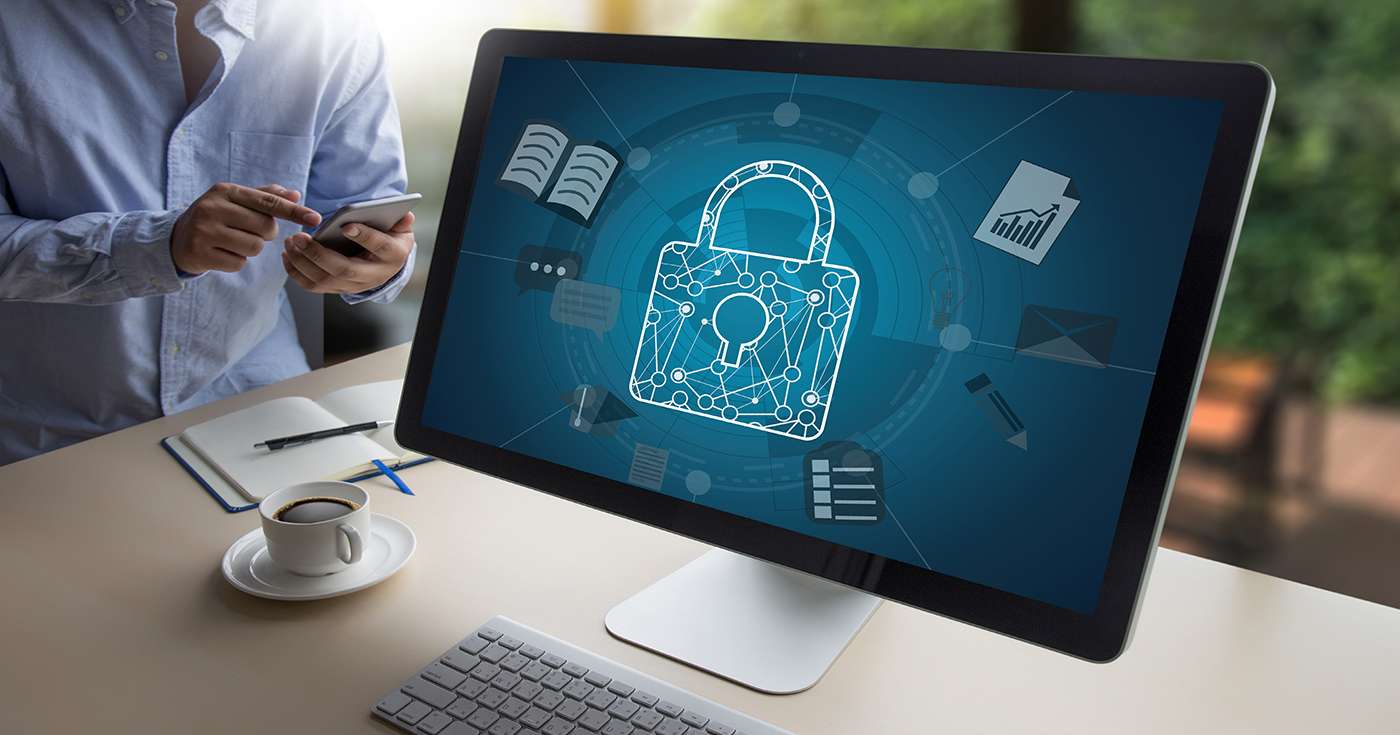
- We’ve covered how user behaviour can impact security in the past – with phishing attacks and so on – but this guide specifically covers technical solutions which are easy to implement.
Introduction
The world has changed a lot recently, especially when it comes to the way we do our work.
Where once we were all crammed into cars, buses, and tube carriages, many more of us are now choosing to work from home. This new-found flexibility brings with it lots of positive opportunities, including a better work/life balance.
But it also brings its fair share of risks, especially when it comes to cybersecurity.
For many businesses, taking care of the basics outlined in the government’s Cyber Essentials program, which is a great way to ensure your company is safe and secure – but a lot of its guidelines can apply to personal computers, too.
With the right know-how, (and some time spent setting up security), you can ensure your Windows PC or Mac is as safe for work as possible.
Not sure where to start? At Get Support, we’ve got you covered.
Bolster network security by enabling your firewall from day one
Whether you’re on a PC or Mac, ensuring you have your firewall enabled should be the first thing you do.
As the name suggests, a firewall acts as the first line of defence against cyberattacks, making decisions about which connections should be allowed (and which should not). Of course, you can also choose to allow programs access through the firewall – or even block programs from internet access entirely.
Your firewall should be enabled by default, but you can double-check by following these steps:
- For Windows 10 machines, click Start, then search for “Windows Defender Firewall”. You should see a summary of its status confirming that the firewall is engaged and actively protecting your machine.
- For Mac machines, simply open System Preferences, go to Security & Privacy, then click the Firewall tab. It should show a green light confirming that the firewall is on.
Make sure your Operating System and software is all up to date
We’ve talked about this a few times in the past, but it bears repeating.
One of the most common routes into someone’s computer is via software which hasn’t been updated and has unpatched vulnerabilities.
For example, as we covered in our guide to the Office 2010 end-of-life process, once a piece of software is no longer supported by its developer, it doesn’t usually take hackers long to find holes to exploit. If you’re still running this version of the software, you could be exposed to potential cyberthreats.
The solution? Always ensure that both your Operating System (Windows or macOS) is totally up to date, and that any software you use – such as Microsoft 365 – is also up to date.
Both Windows and Mac have options in their Control Panel / System Preferences to check for software updates. It’s a good idea also to have auto-updates enabled so you’re 100% sure you’ll always be running the latest – and most secure – software.
Worried about physical security? Let’s get encrypting!
One issue that’s tough to mitigate is physical theft of your machine – and that’s a risk for both Mac and Windows.
Thankfully, both platforms have encryption tools built in which can essentially ‘lock’ your files if you aren’t logged in. This means that, were your machine to be stolen, the thief wouldn’t actually be able to access your files without also having your password.
If you’d like to enable encryption, it’s a piece of cake. Just follow these steps:
- On Windows 10 (non-Home editions), go to Control Panel, click System and Security, then click BitLocker Drive Encryption. You’ll see the options you need to enable BitLocker for your drive.
- On macOS, go to System Preferences, click Security & Privacy, then click the FileVault tab. This should be enabled by default and is usually secured using your iCloud password.
Install anti-virus software (or make sure the built-in option is running)
Have you ever heard that Macs are immune to viruses? It’s something you’ll hear occasionally, (and even something Apple used to advertise about) but – in reality – it’s a complete myth.
Macs are just as vulnerable to malware, viruses, and other digital nasties as Windows – it’s simply that they are (or, at least, were) less prevalent. In terms of market share, Mac has always been less popular than Windows, at least until Apple’s recent resurgence. So, by sheer numbers alone, cyberattackers focused most of their attention on the more common platform: Windows.
Today, though? There’s risk on both sides.
- In Windows, you can (and should) have enabled Microsoft Defender (formerly known as Windows Defender). It should be enabled by default and will regularly scan your system for threats. User Access Control is another feature which helps defend against potential harm from files.
- On the Mac side, macOS Catalina – the most recent version of the OS – has virus protection built in, too. For example, when you open a file, it’ll check it against a list of known malware. It also has a feature whereby it’ll simply refuse to open certain downloaded files without you first overriding it (just hold the Control key when you open it).
Handily, both Windows and Mac have built-in options for virus protection:
Bonus tip: On Windows, don’t use an Administrator account as your daily driver
Here’s a final tip for the Windows users based on the fact that reports suggest 77% of critical vulnerabilities can be mitigated with a simple change.
What is that change? Simply create a new user account which does not have the ‘Administrator’ account and use it for your day-to-day use, including work. By doing this, if any accidents do occur, or someone somehow gains access to your account, they won’t have the permissions required to do serious damage.
Of course, you can always switch to your Admin account anytime to take care of updates and other digital red tape.
Looking for an IT security check-up? Talk to Get Support
There’s no doubt that IT security is now more important than ever before.
If you’re a business owner and you have any number of employees working from home, and especially if they’re using their own devices, you need to be 100% sure you’re cyber-secure. At Get Support, we can help.
Call us today on 01865 59 4000 and our team can give you a complete IT cybersecurity health check.